Content warning: this article is a description and pictures of butchering chickens for meat. Do not continue if you do not want to see chickens being processed into meat.
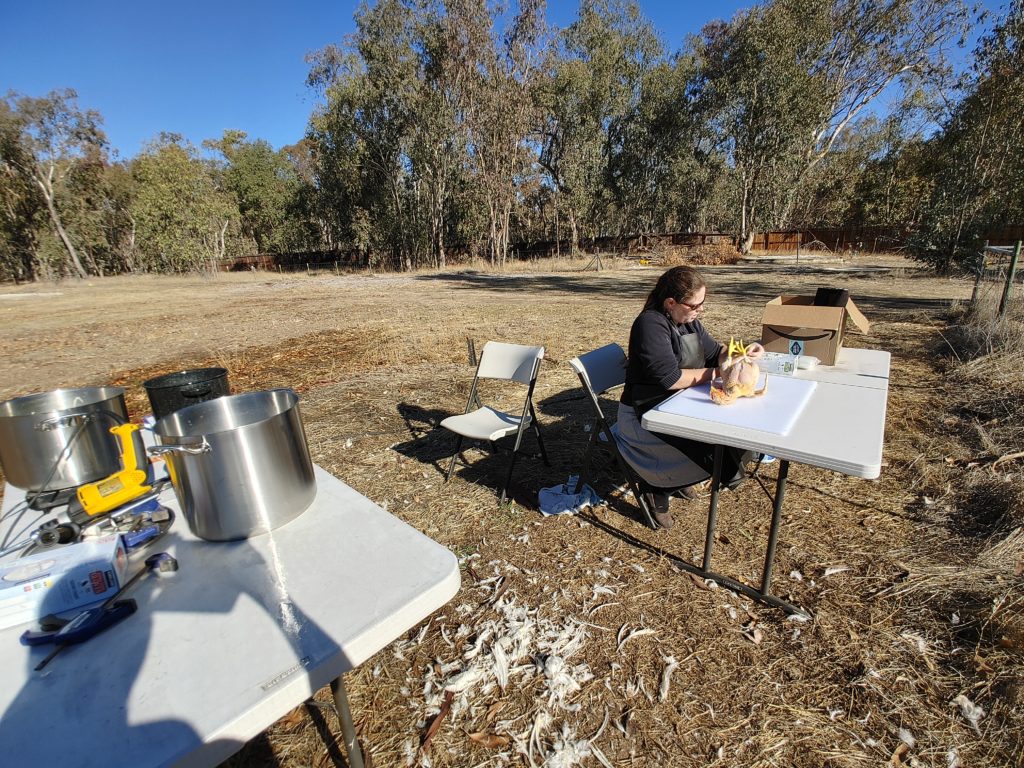
We were at the end of our learning experiment. Our 100 meat birds had reached butchering size, so it was time to start slaughtering and processing them into our freezer. In anticipation, we upgraded our freezer to a 19 cu ft chest freezer and got a better kill-cone and knives. We had butchered 7 birds prior to this and killed an additional 4 due to injuries and illness. Initially, we thought we would each do an equal number of kills and processing, but it pays to specialize when you are doing skilled labor. In the suburbs, Daniel took care of slaughtering the birds and Miranda plucked, eviscerated, cleaned, and bagged. It had taken us an hour per bird. We knew we needed to get faster, but our set-up was inadequate. Nonetheless, we got to work. We did the first couple just before Thanksgiving to review how it is done and to check that our new equipment worked. It was not quick, we have heard 10 minutes per bird is normal for skilled homesteaders. Those first birds took more time that we’d like to admit. But they were delicious.
After Thanksgiving, we pushed ourselves to go faster. We broke down the steps, we rearranged the set-up, we refined the pipeline. We got ourselves to the point of averaging a bird every 20 minutes, and we are unlikely to get better without further improving our set up.
The steps to butchering a chicken are readily available with a quick internet search. This is a step-by-step summary of our experience:
Step 0:
Don’t feed the birds for 12 – 24 hours before slaughter, full crops and digestive tracks make things messier and more difficult. But full crops are easier to separate from the bird, so not the end of the world either way.

Step 1
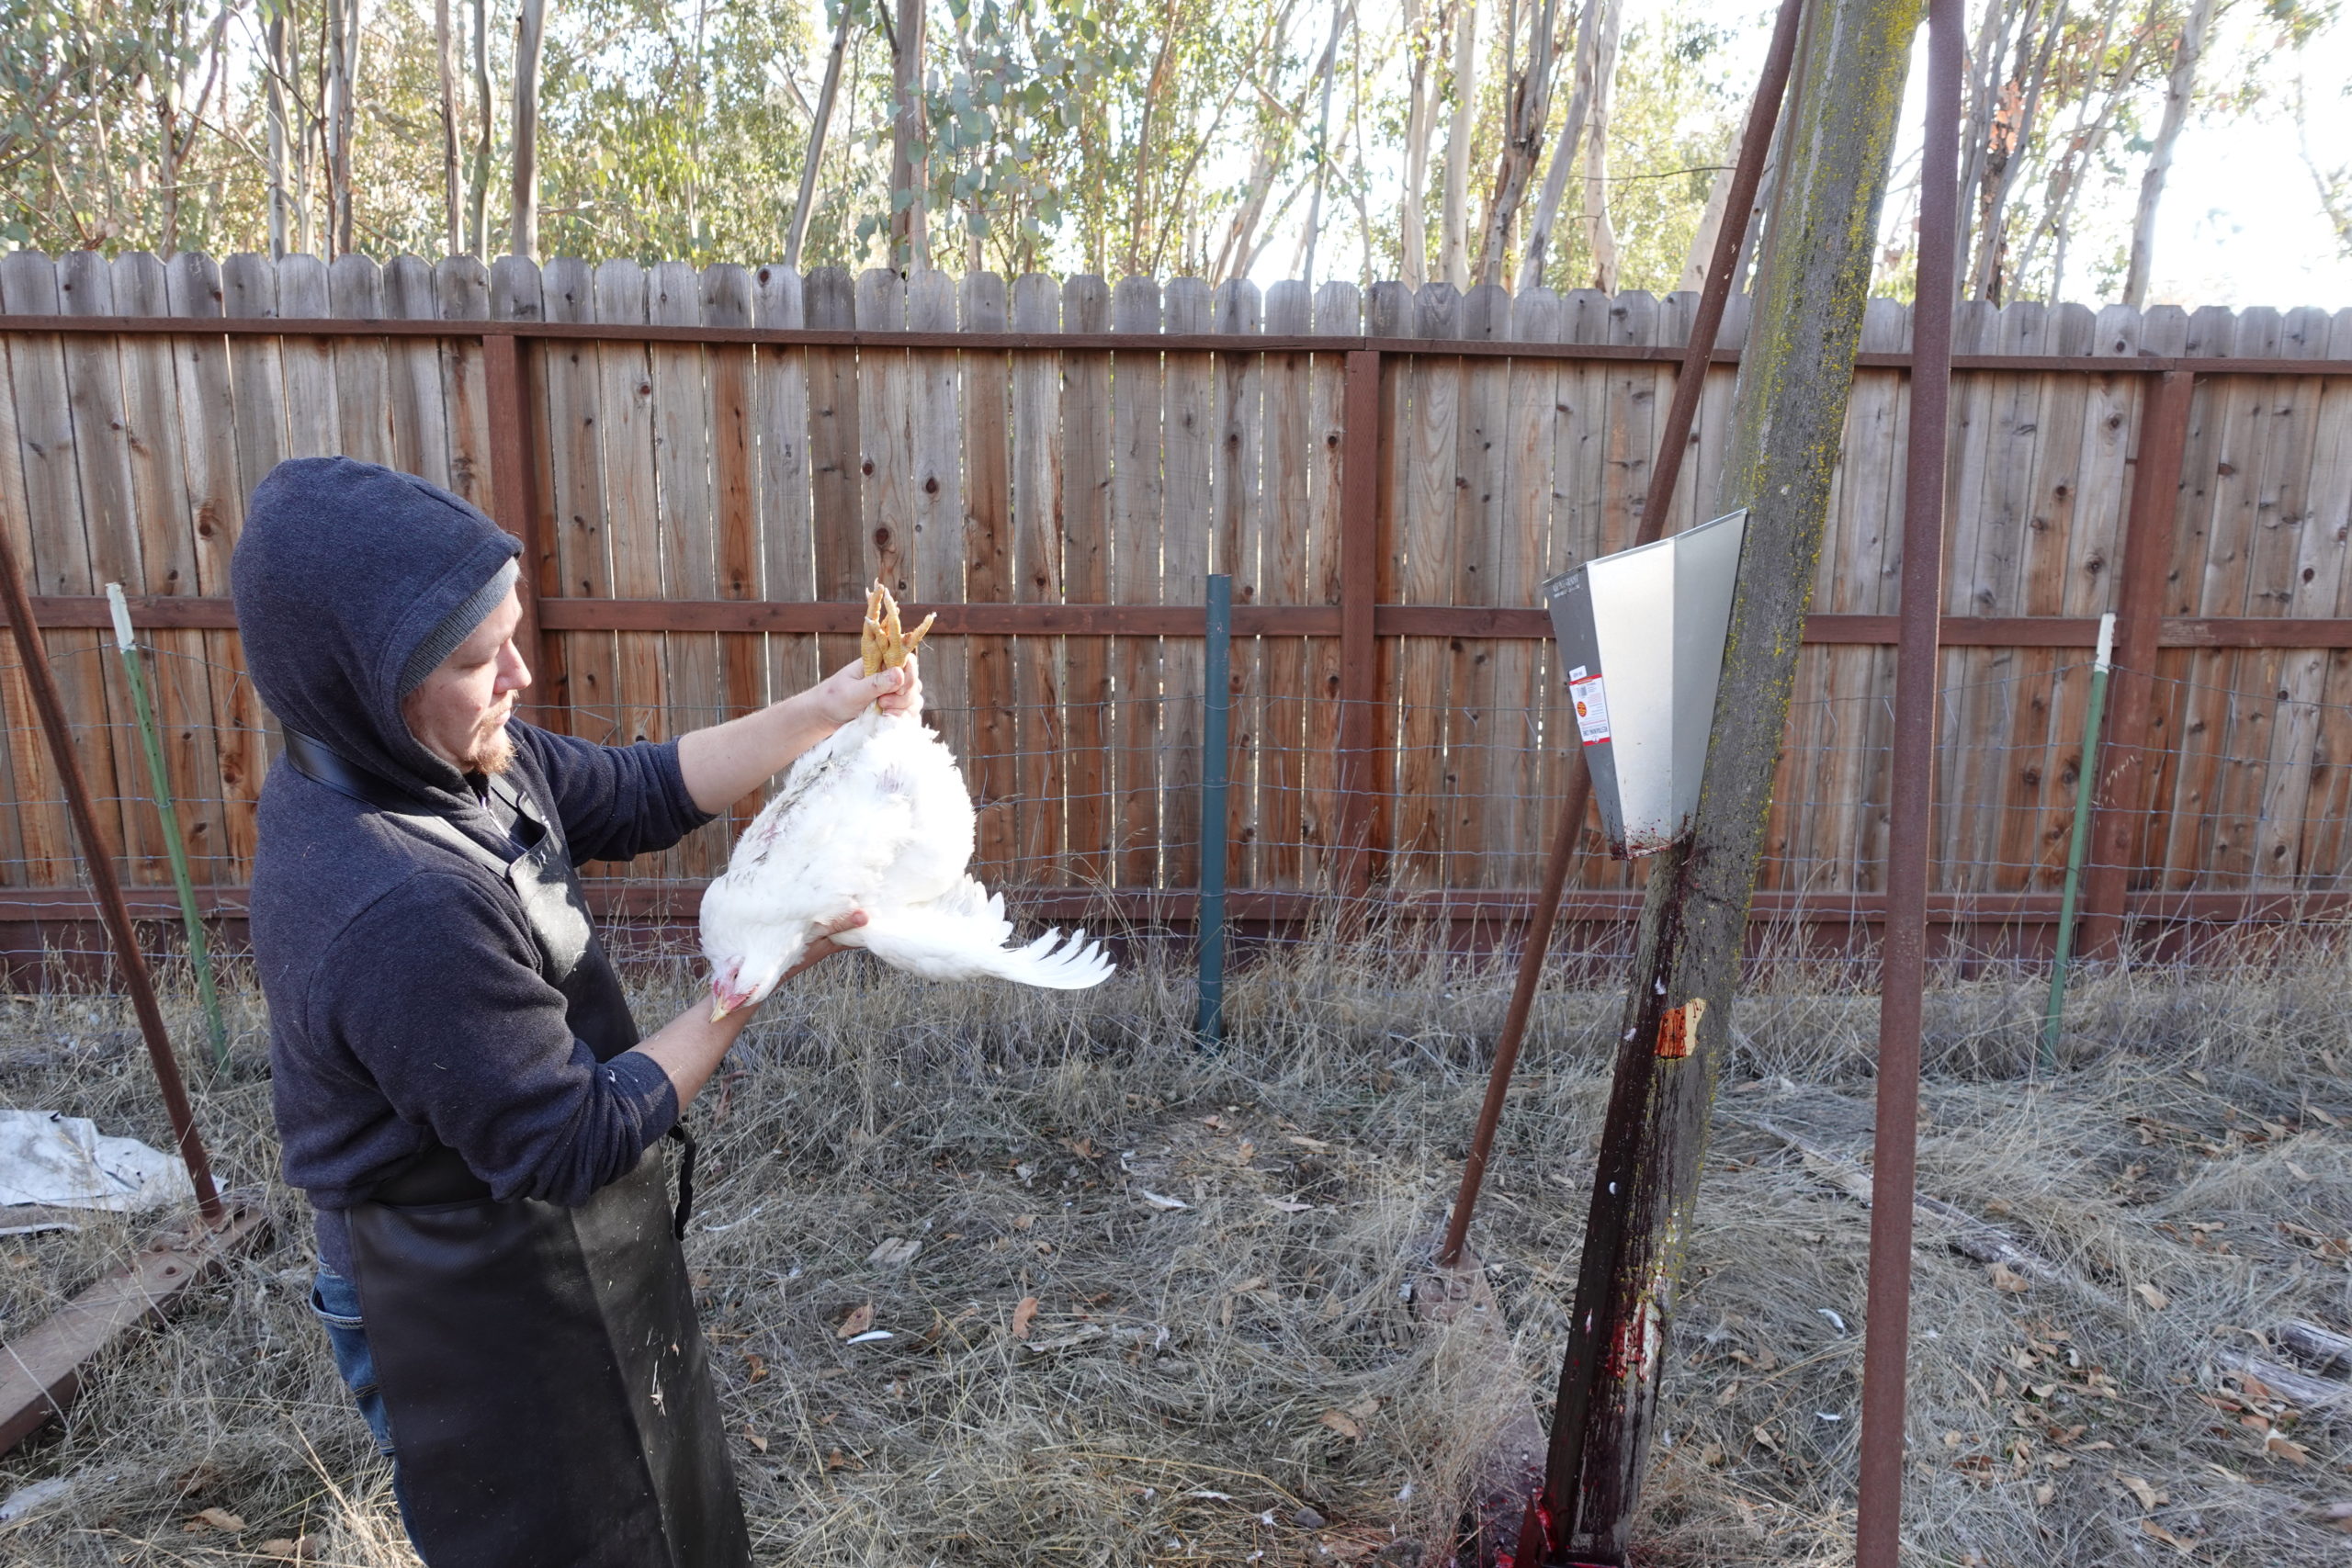
Put the bird upside down in the restraining cone, aka kill cone, supporting the back while inverting them so they don’t panic. Hold the feet in one hand and gently pull the head through the bottom of the cone with the other. Part the feathers and using a very sharp 6 inch long knife and a continuous cutting motion, sever the esophagus, trachea and all major blood vessels quickly, essentially cutting almost to the spine. Using a sufficiently sharp knife and one motion, the bird loses all blood pressure to the brain and thus consciousness before it feels the cut. Done right, the death-throws are violent because the brain is gone while the muscles are still oxygenated. Watch out for fountains of poop.
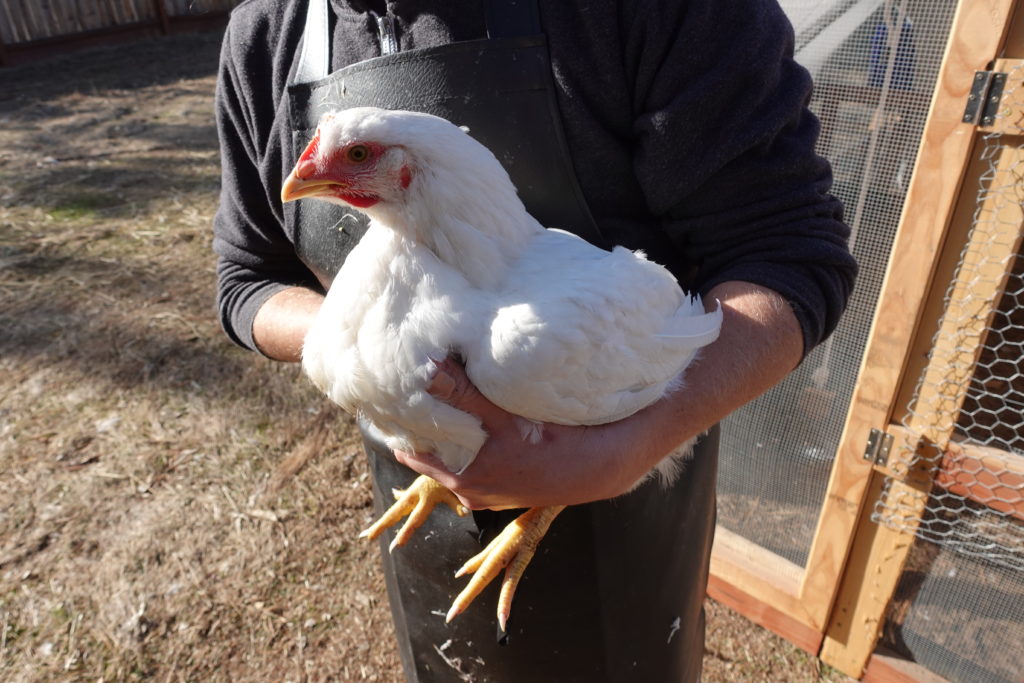
Fully grown chicken on its way to the tractor. They are surprisingly heavy. 
Inverting the chicken to put in the restraining cone. 
Placing the chicken in the restraining cone.


Step 2
Wash the carcass. The birds have pasture and poop on them.
Step 3
Blanche. Dunk the carcass in 140 to 150 degree water for about 20 seconds. This loosens the feathers.

Step 4
Ice-bath. This helps to firm up the skin so it doesn’t rip when plucking.
Step 5
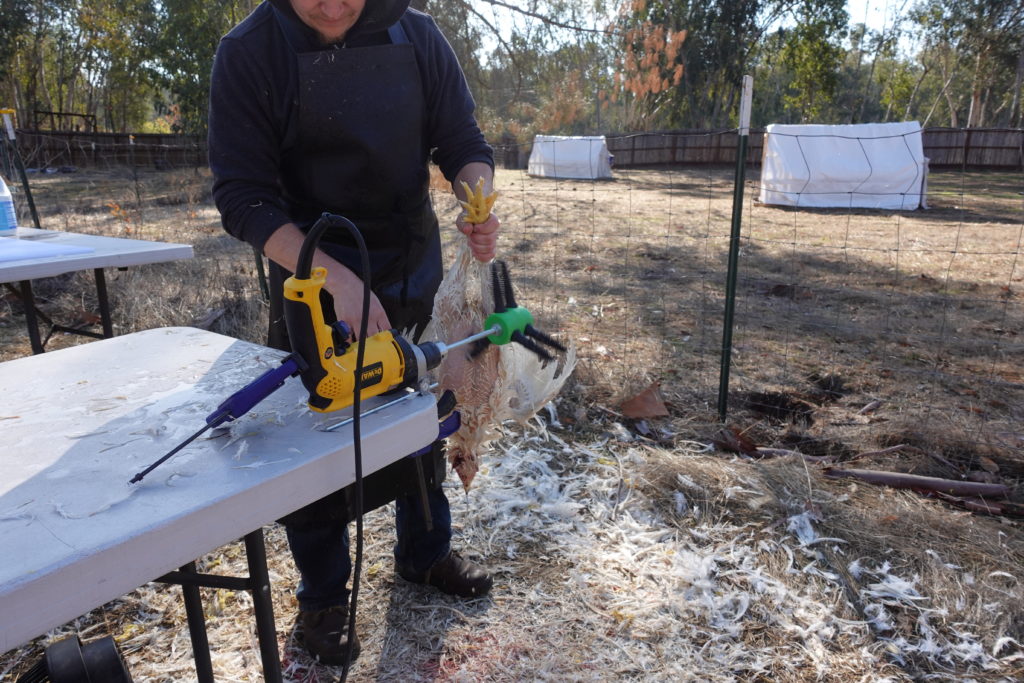
Pluck. We used a Power-plucker, which is a drill attachment. There’s a learning curve but it is less tedious than hand-plucking. Eventually, we’ll upgrade to a drum plucker. Descale the feet, including popping off the top layer of nail.
Step 6
Behead and defeet. The head comes off with poultry shears, the feet with a knife. We discard the heads and keep the feet for broth.

Step 7 and 8
Remove the crop and neck. Separate the crop from both the skin and the body without puncturing it. Slice off any fat for schmaltz. Then slice the muscles on either side of the neck, bend it back, and slice between the vertebrae to remove it. The crop and trachea are then easily removed. Firmly run a finger along the inside of the newly opened hole between the breasts to remove the organs from the body wall as far down the bird as your finger can reach.
Remove the tail by slicing through the spine above the scent gland. This should open the body cavity without puncturing the organs. You do NOT want to puncture the organs down there.

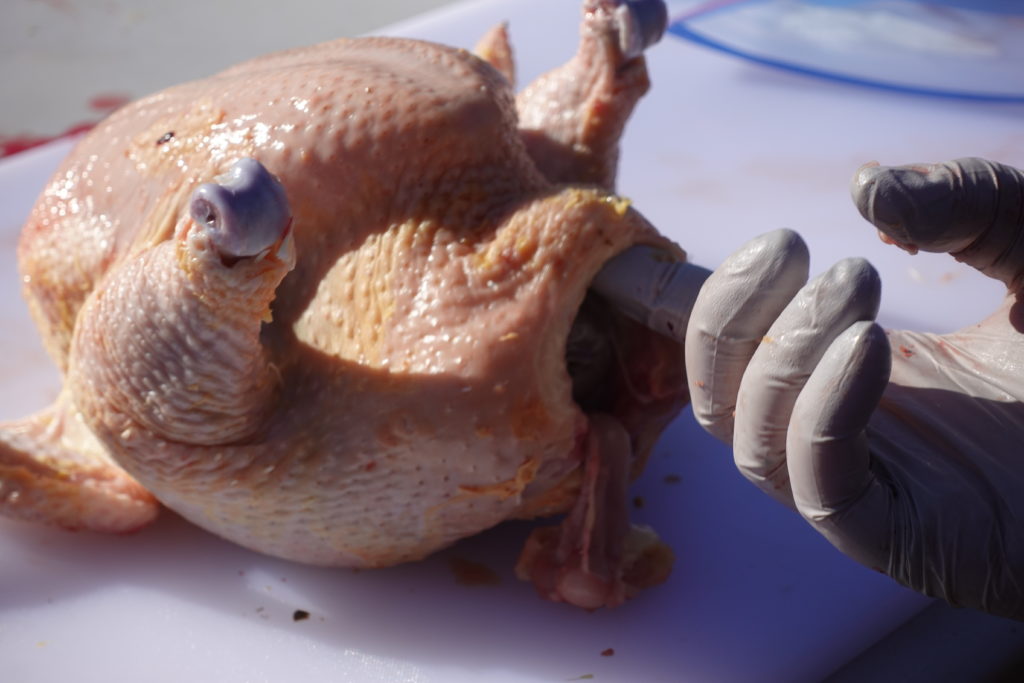
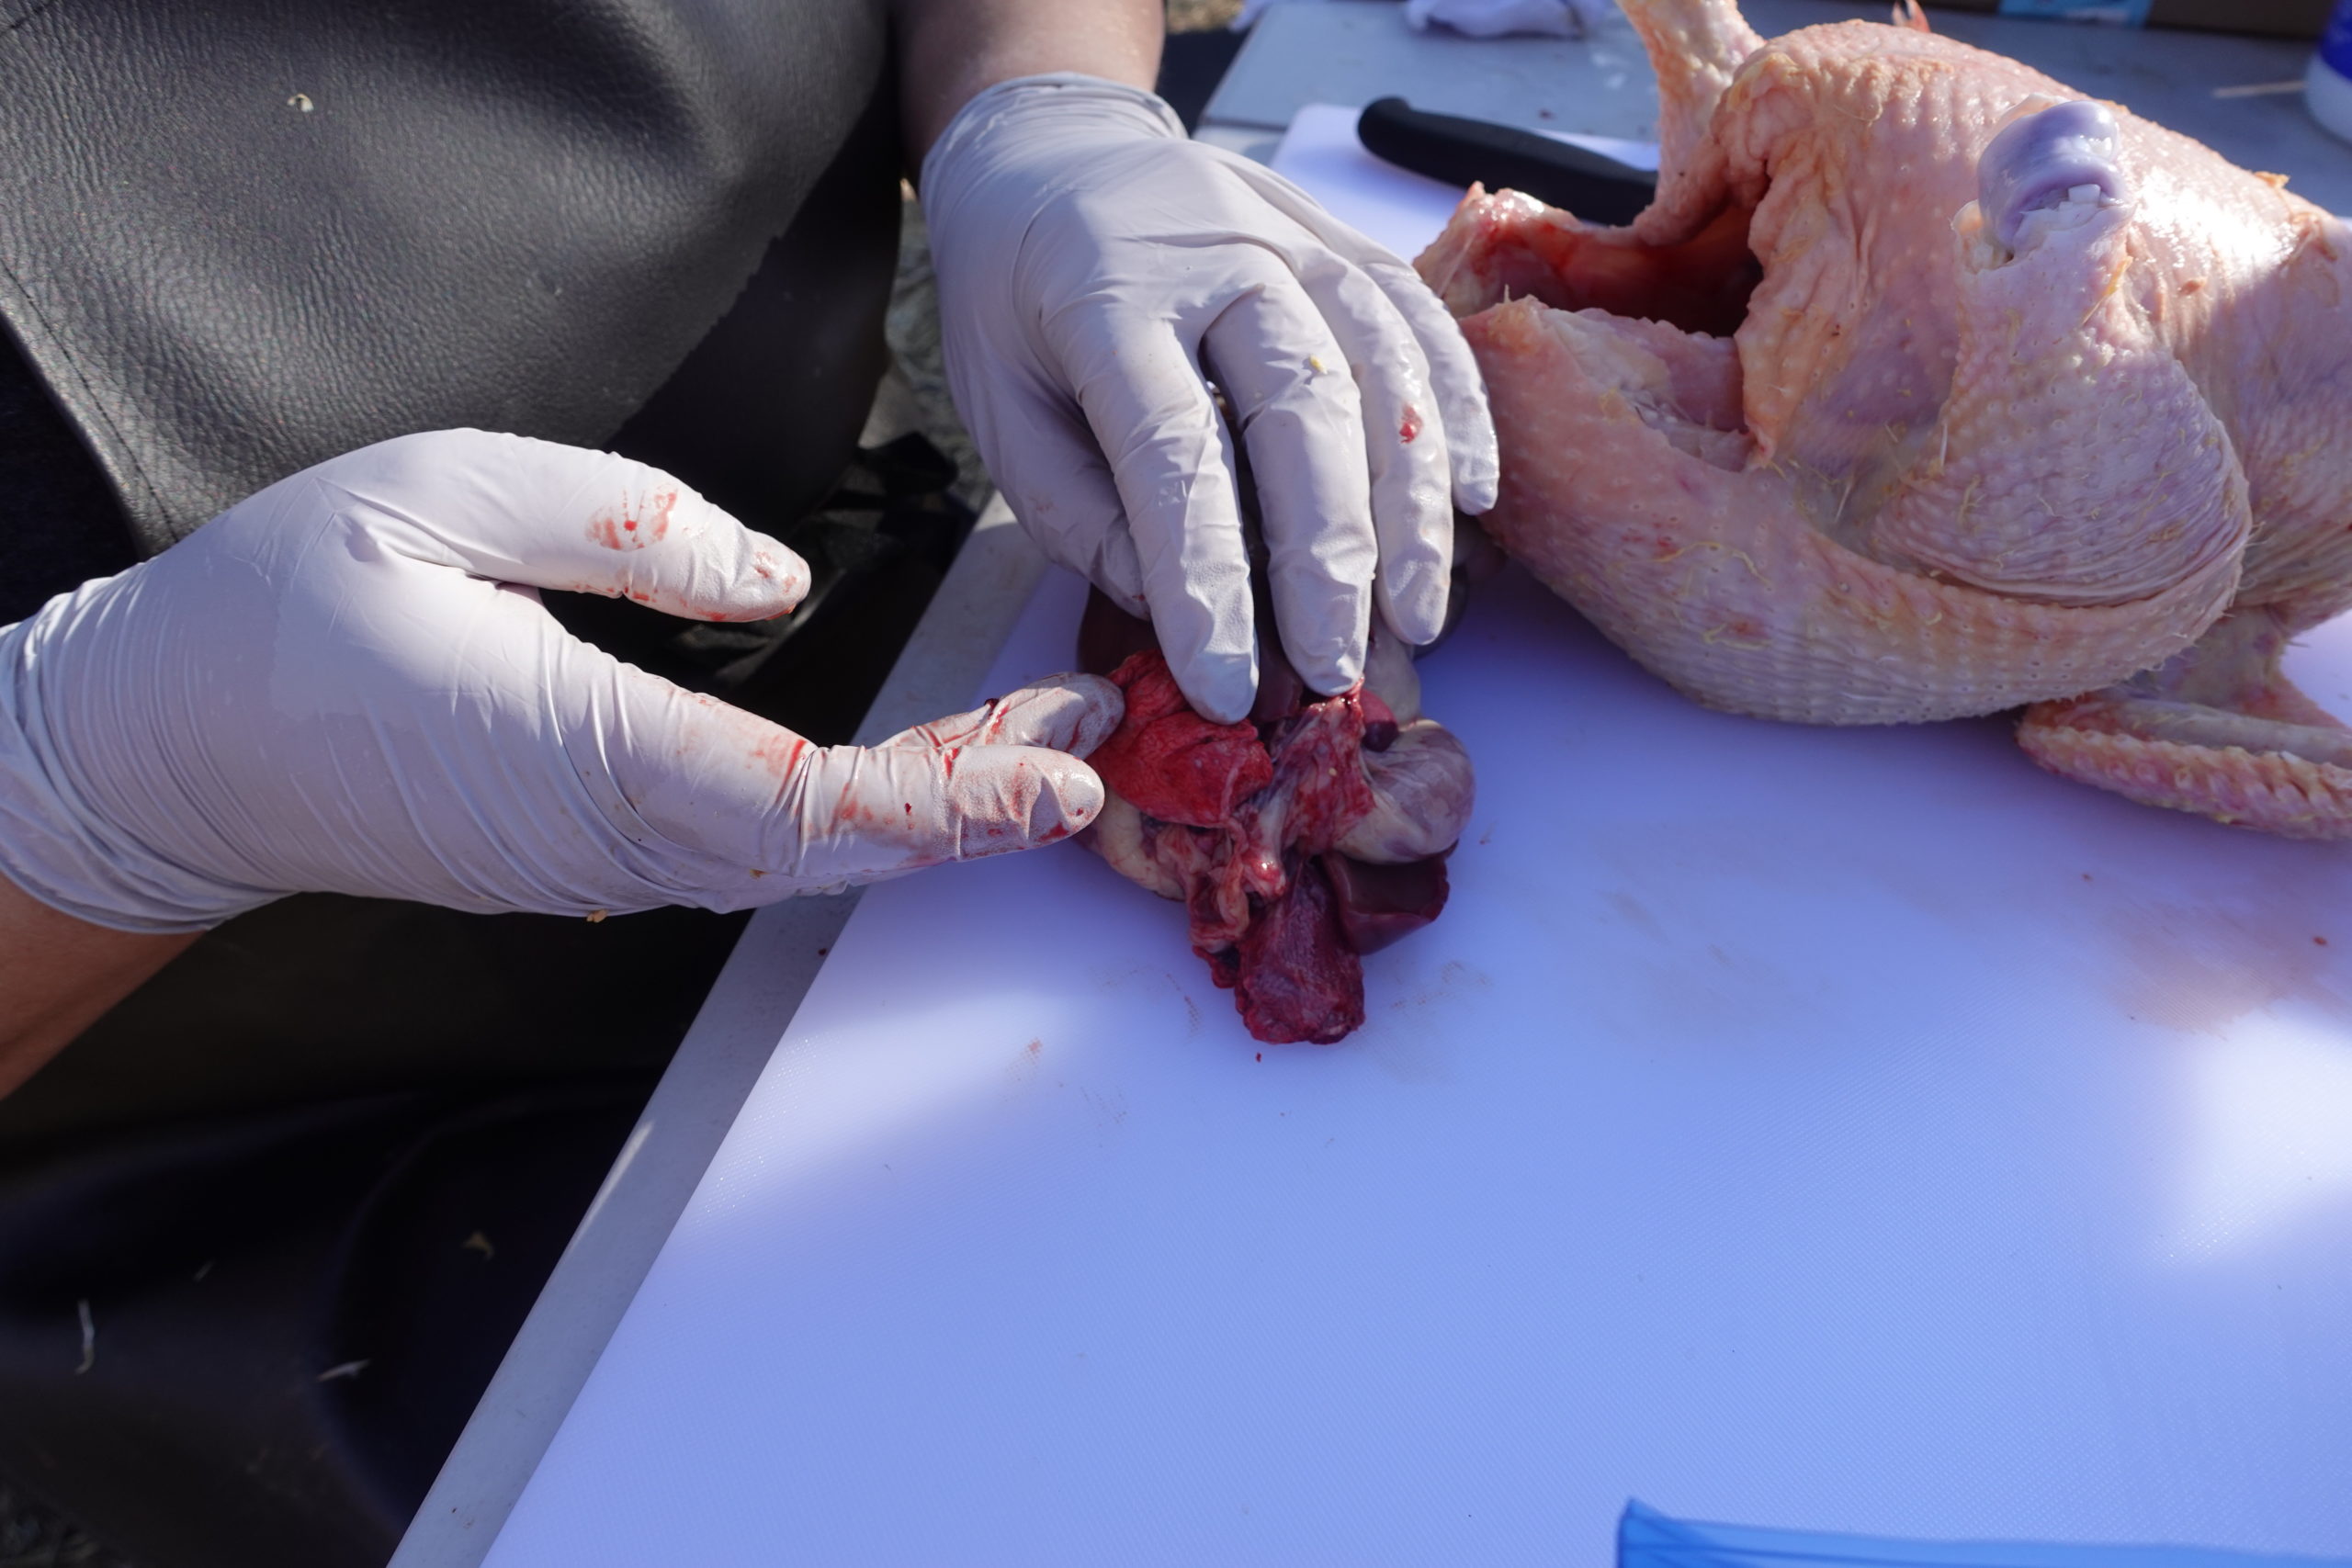
Detaching the cloaca 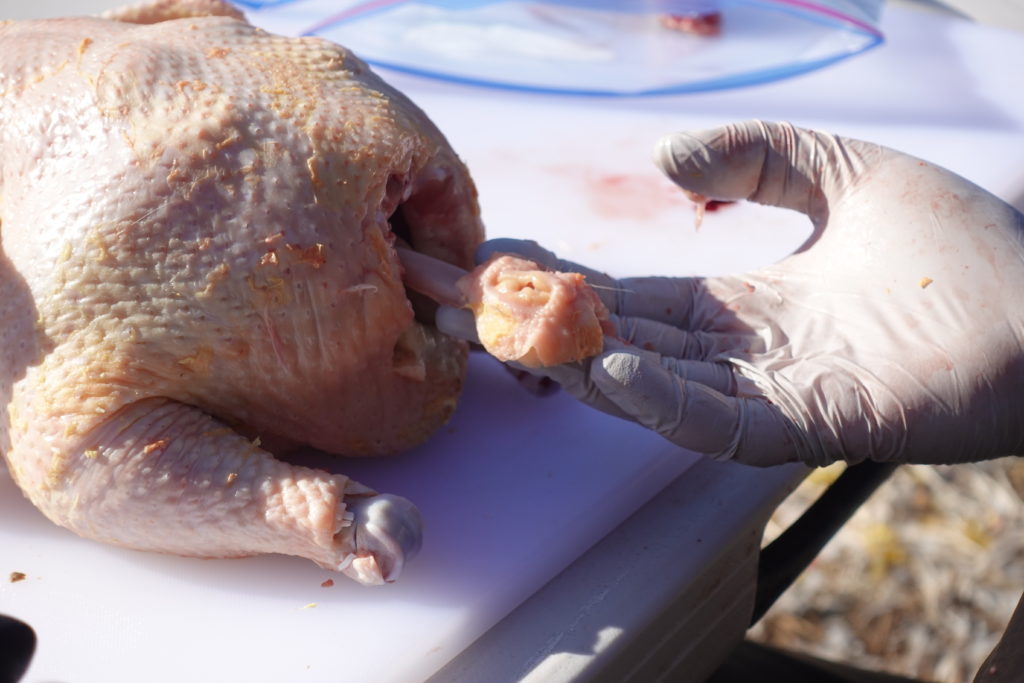
Detached cloaca hanging by the intestine.
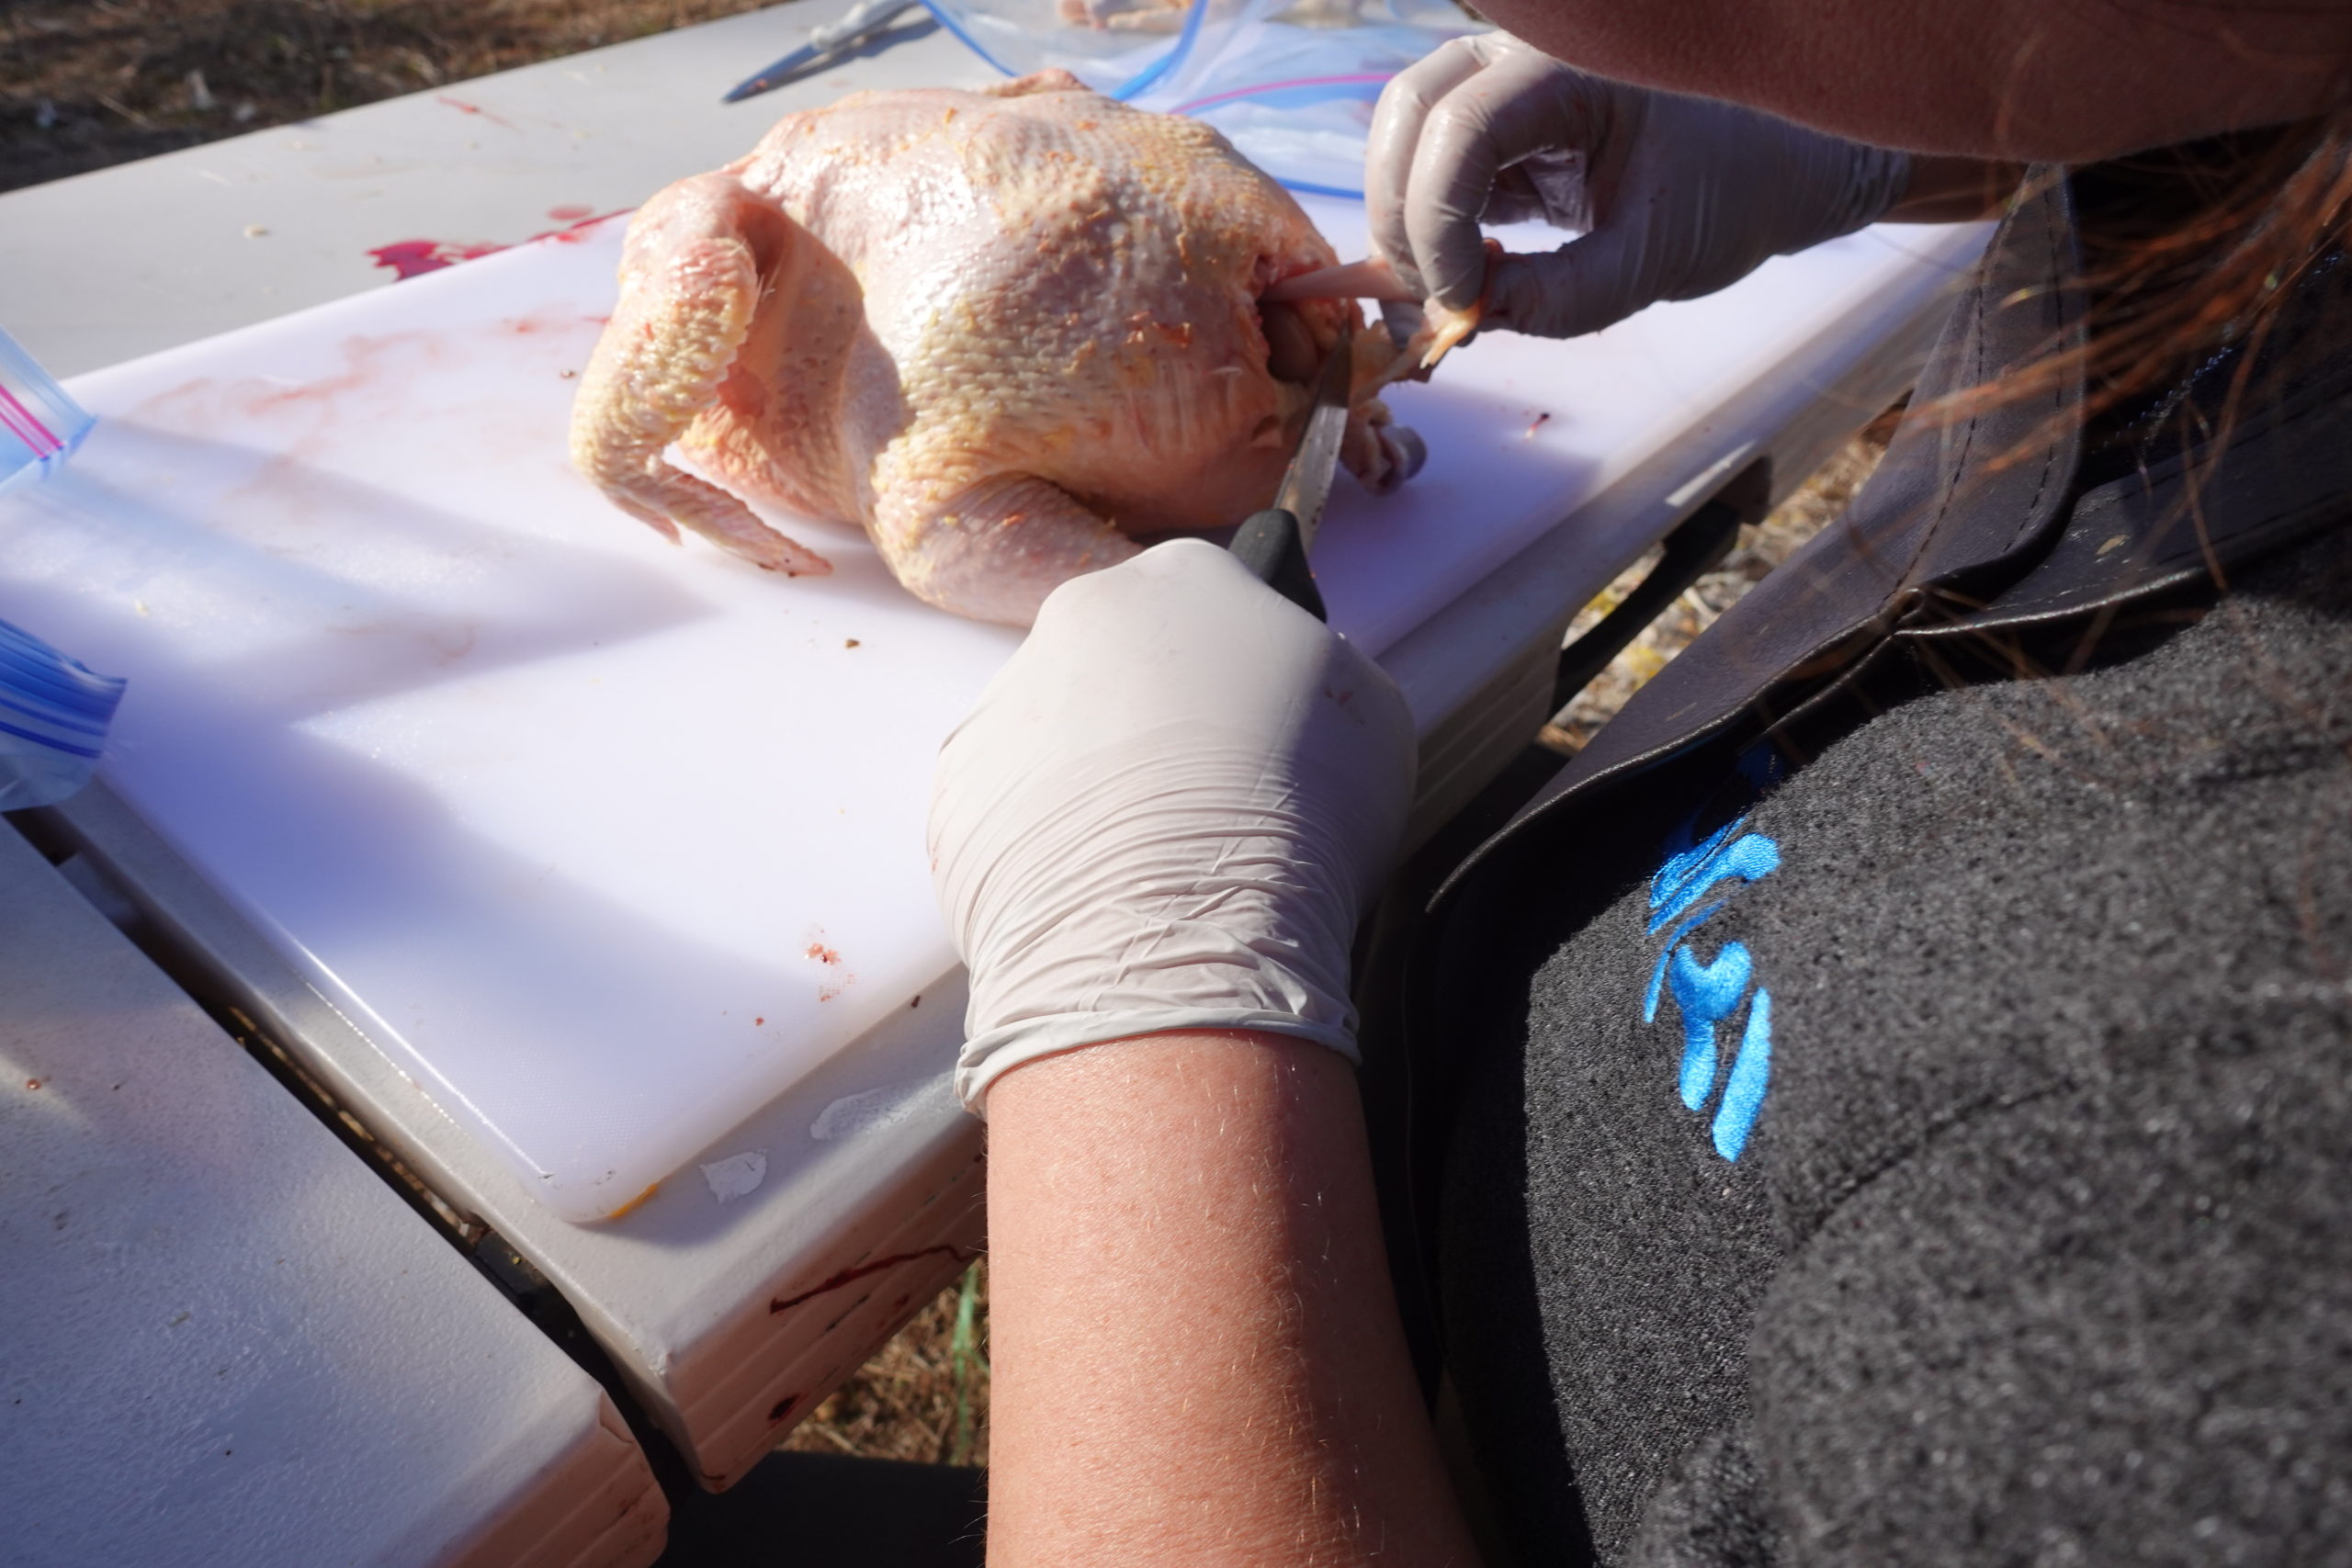

Detach the cloaca. Run a finger around the tail removal hole. Force out any poop and wipe up the mess. Slice around the cloaca. Do not puncture the intestines. Run a finger from each end to ensure everything is detached from the spine. Flip the bird on its back.
Step 9
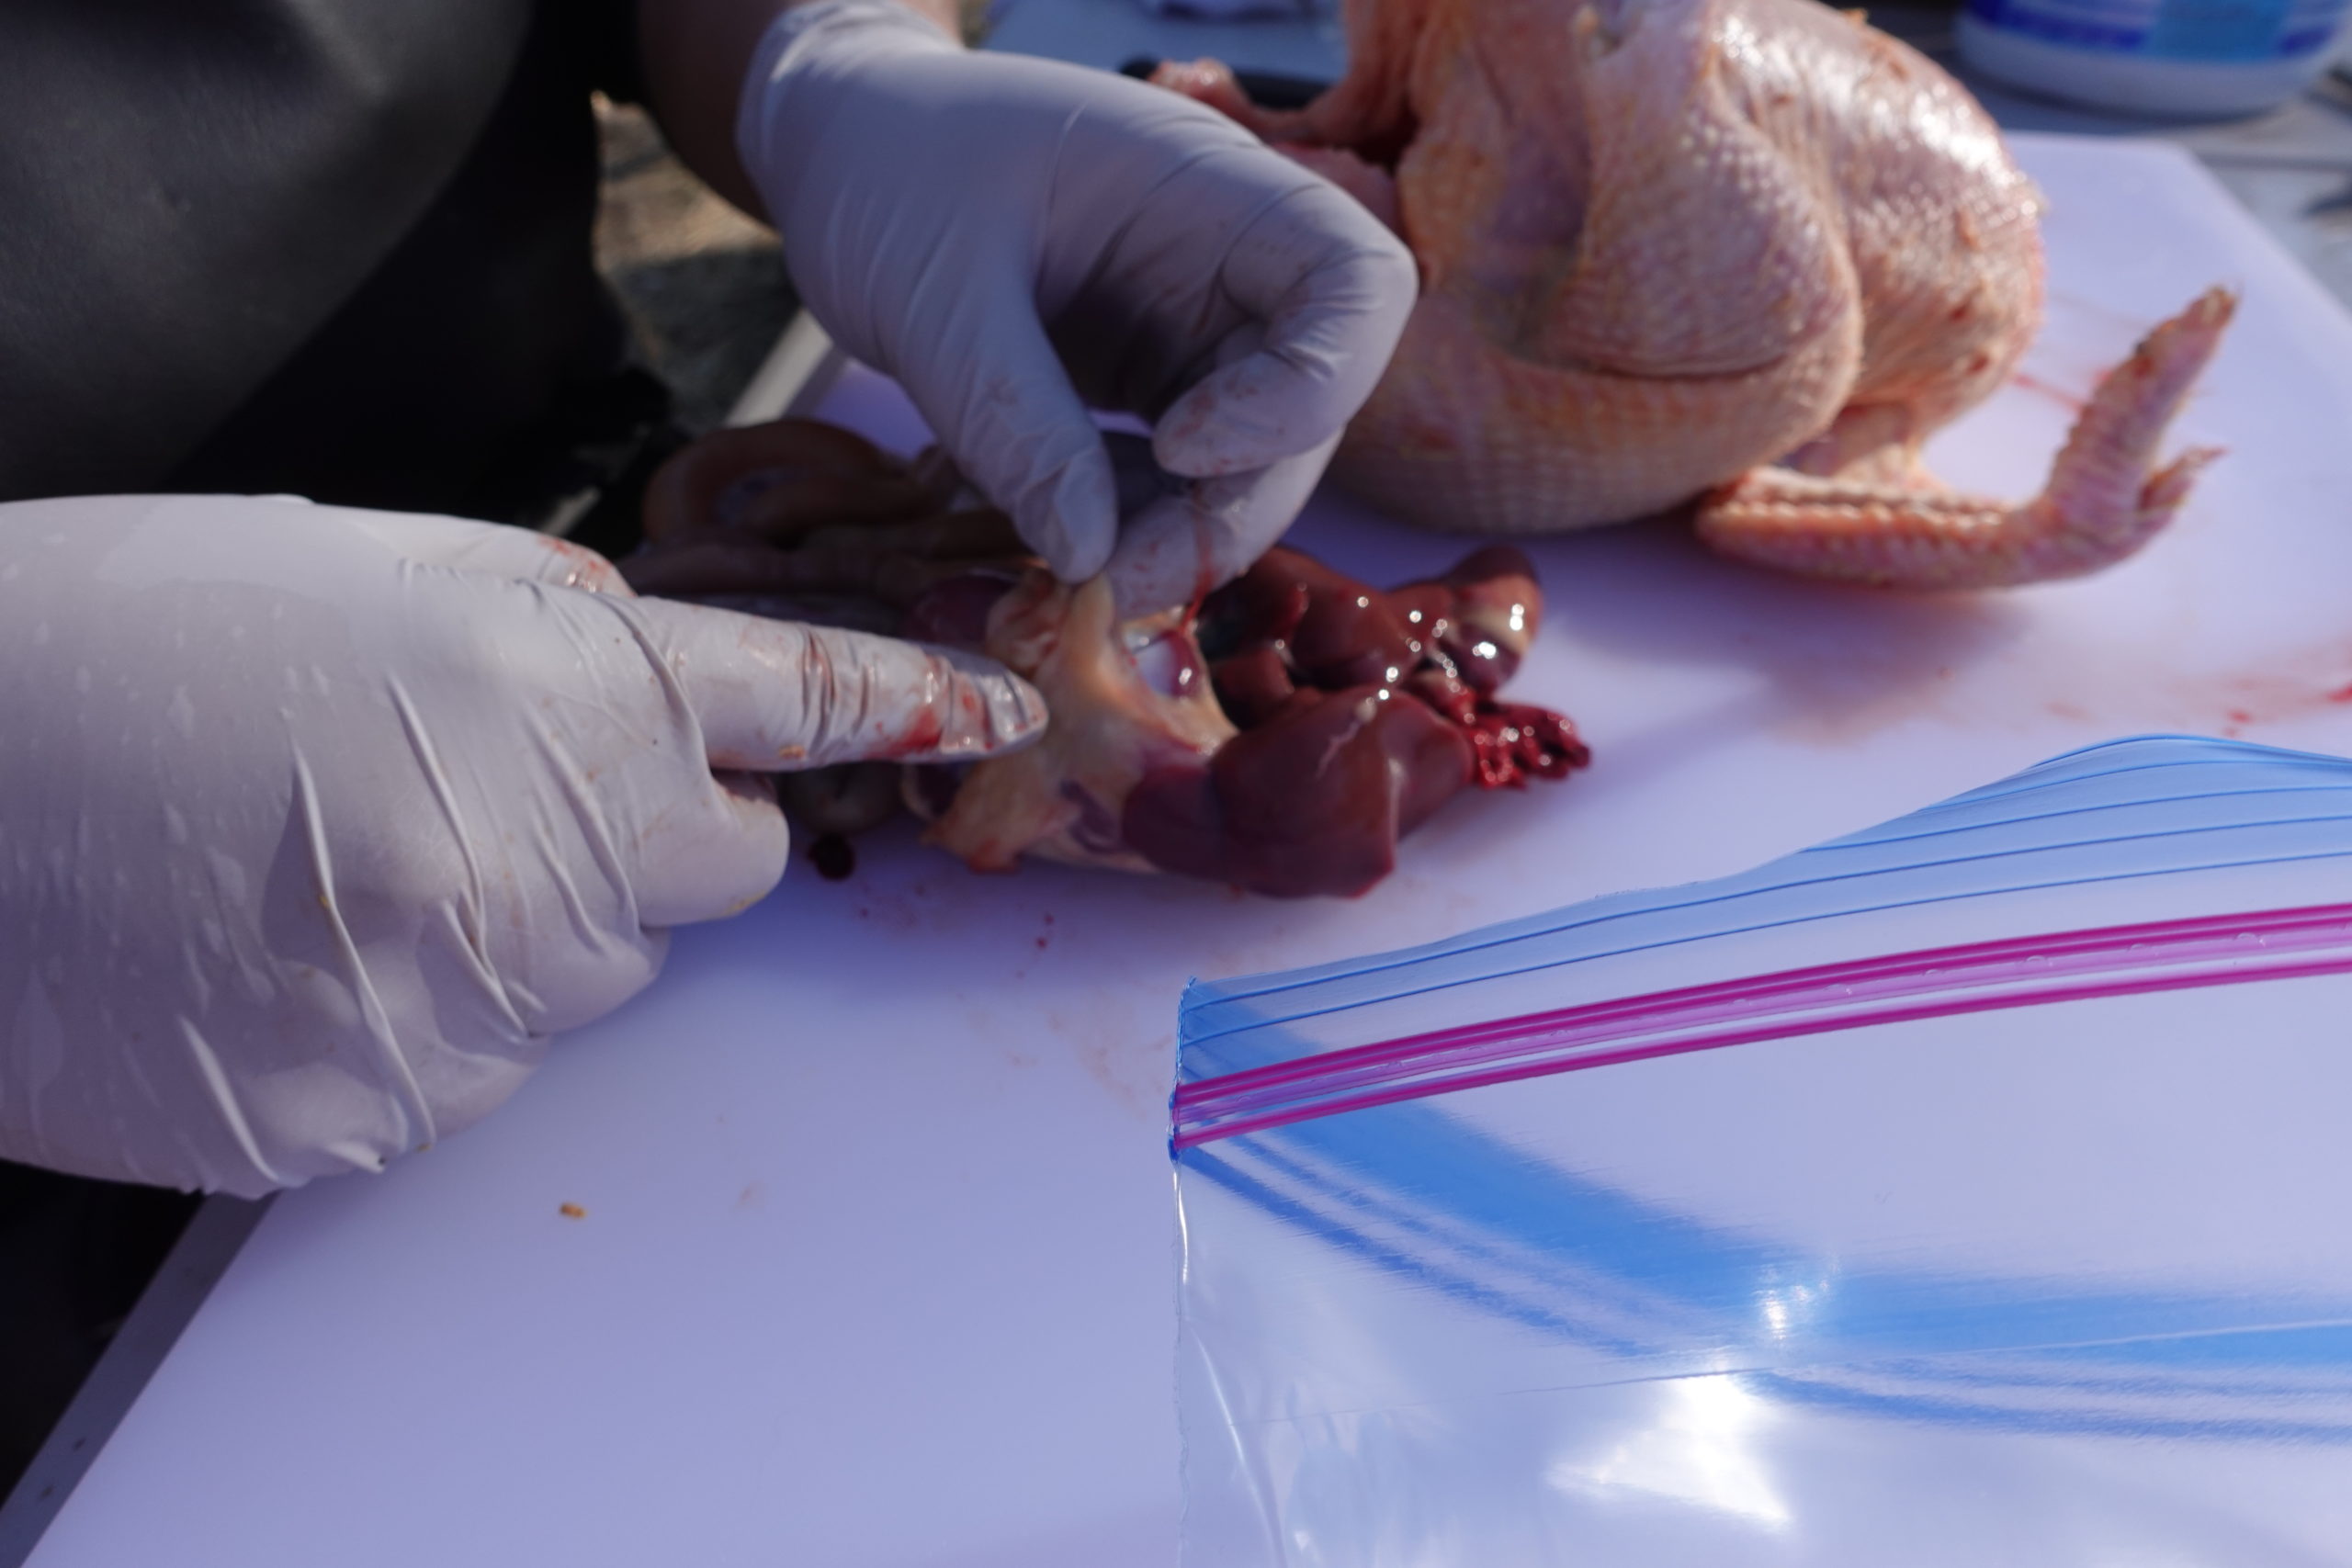
Open the body cavity, remove the fat, and remove the organs without puncturing them. Slice a line from the hole the intestine was hanging from to the bottom of the breastbone. Make it a T by slicing along the bottom of the ribcage on both sides. Separate the fat from the muscle, cut it off the organs, and store it for schmaltz. Pull out the organs.
Slicing open the body cavity in preparation for evisceration.
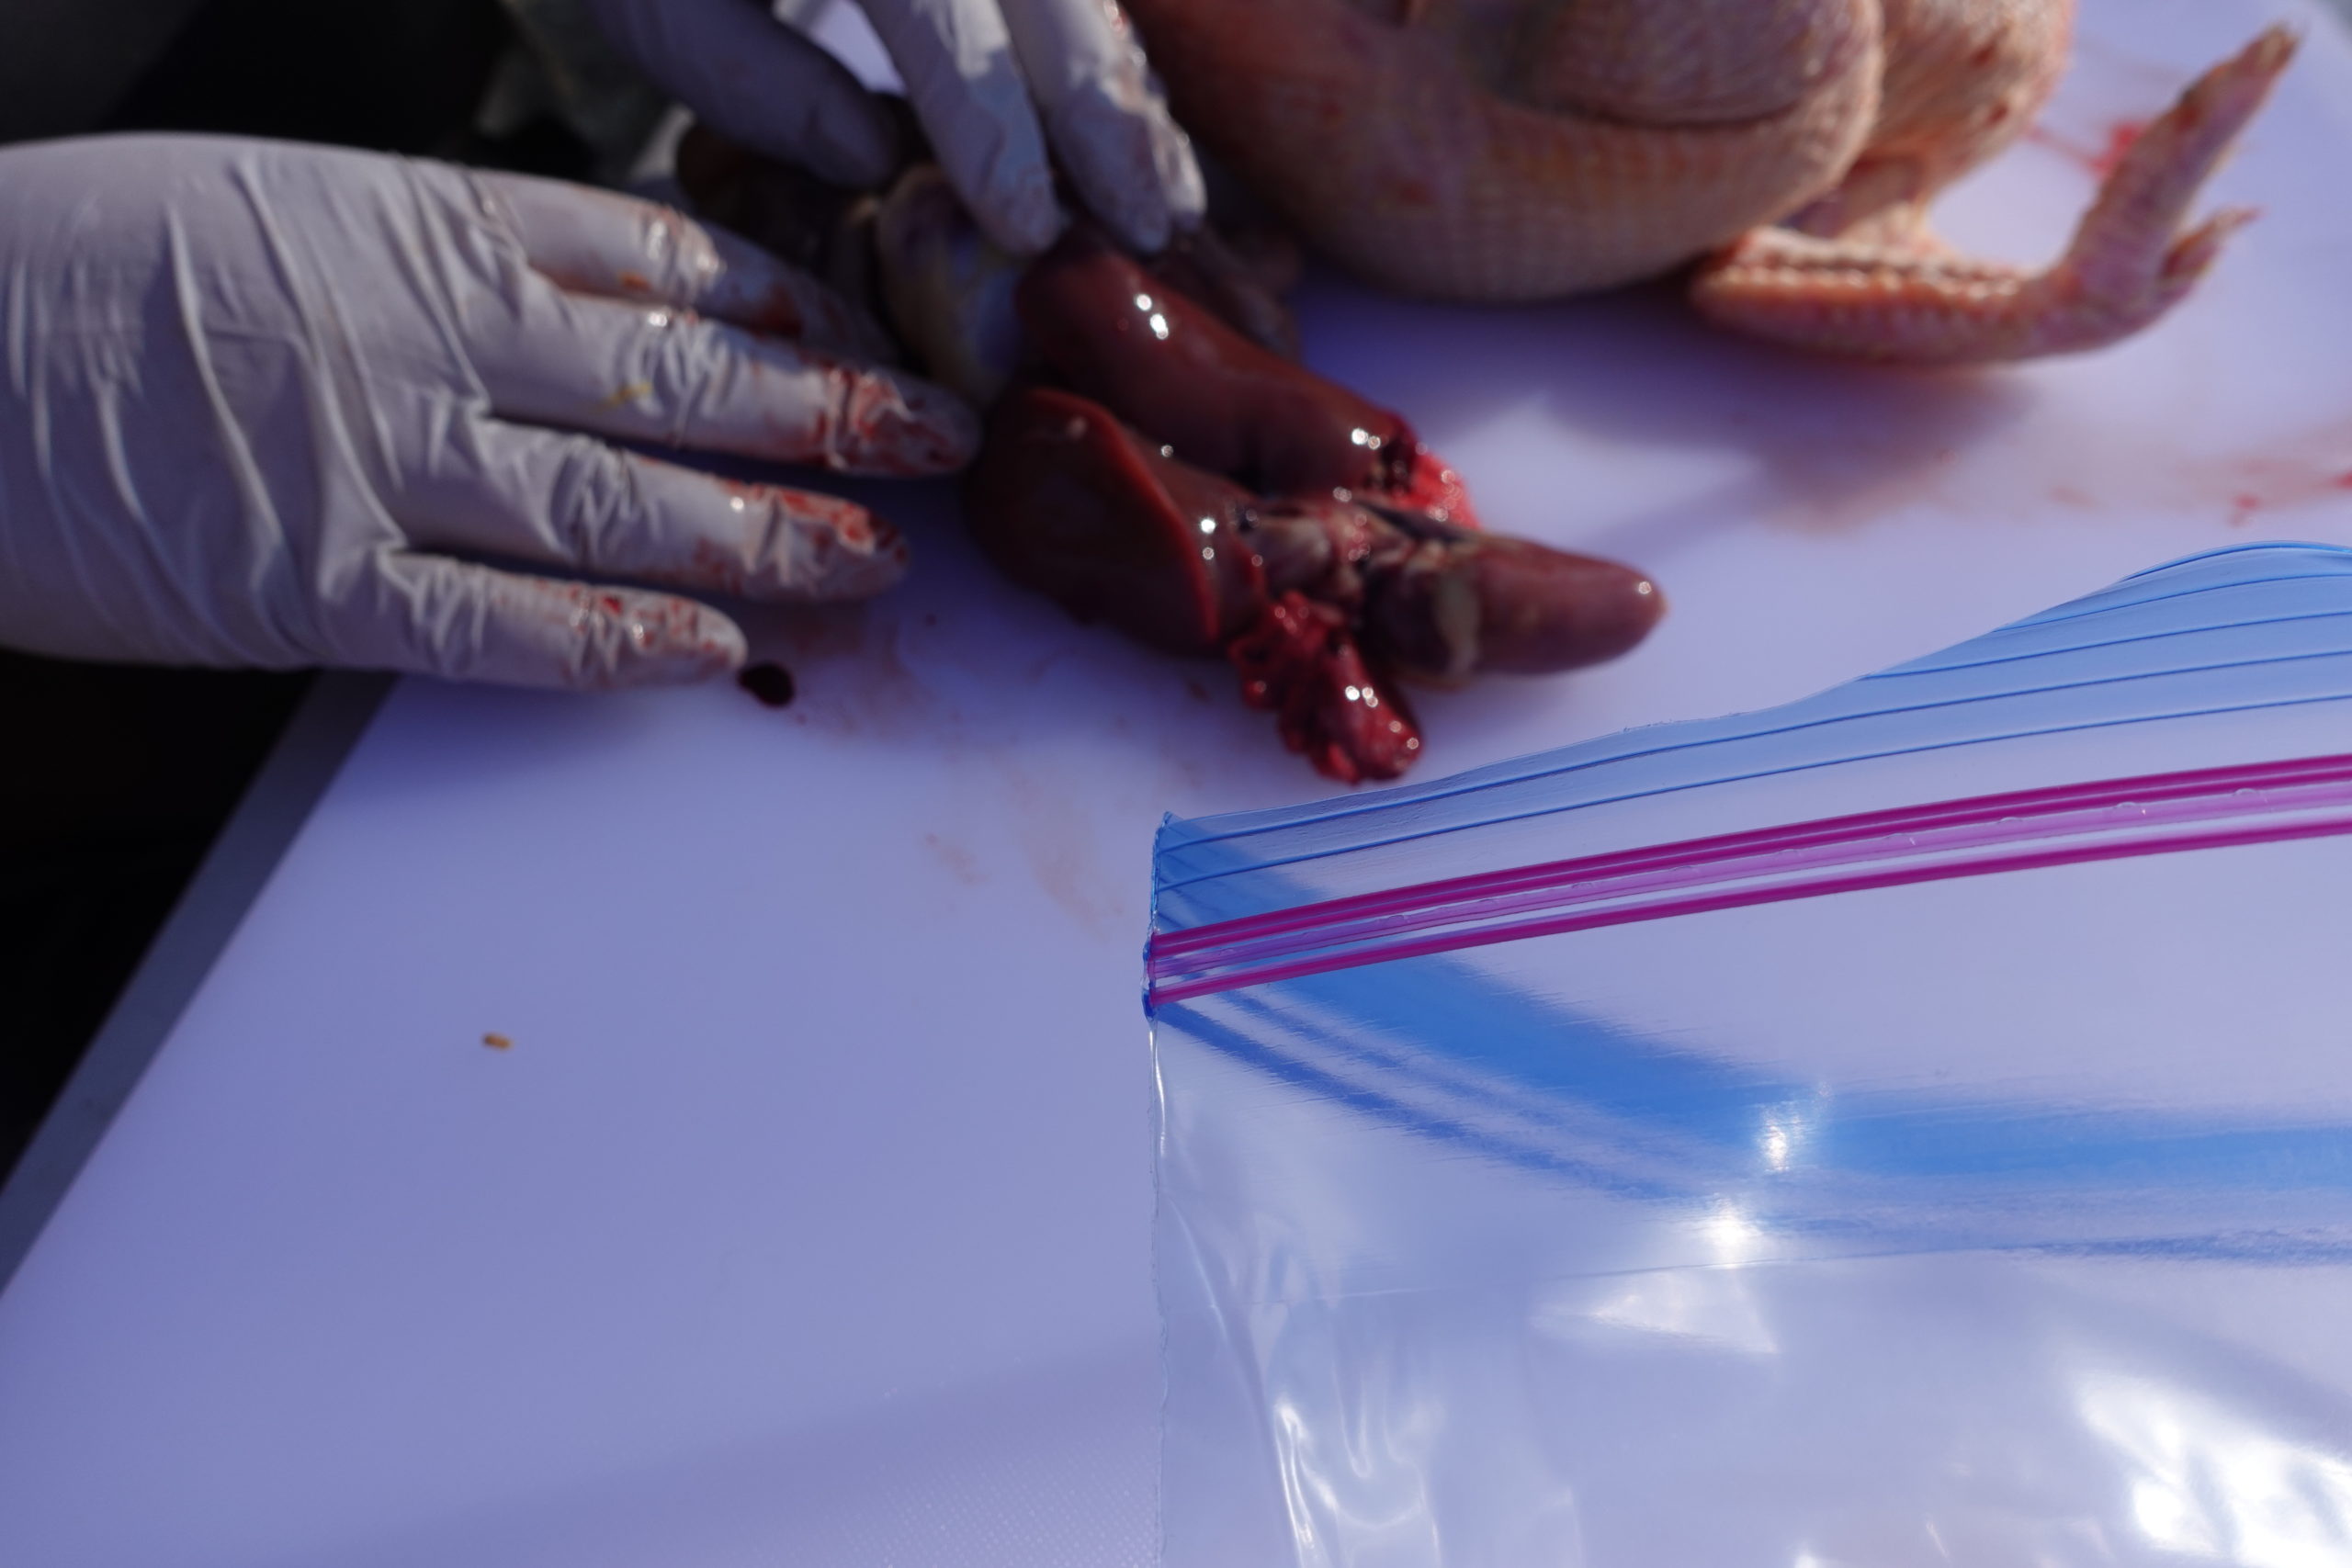
Step 10
Separate the liver. Do NOT puncture the bile unless you want poison all over your meat. The bile is bright green and gets everywhere. If you accidentally puncture the sack, clean off all surfaces and knife with bleach and discard any meat it got on. We put the remaining guts into the compost, but the heart and gizzard can be separated and used. Remove the kidneys, genitals, and anything else left inside the body cavity.
Step 11

Lots of interspersed with the organs 
Liver 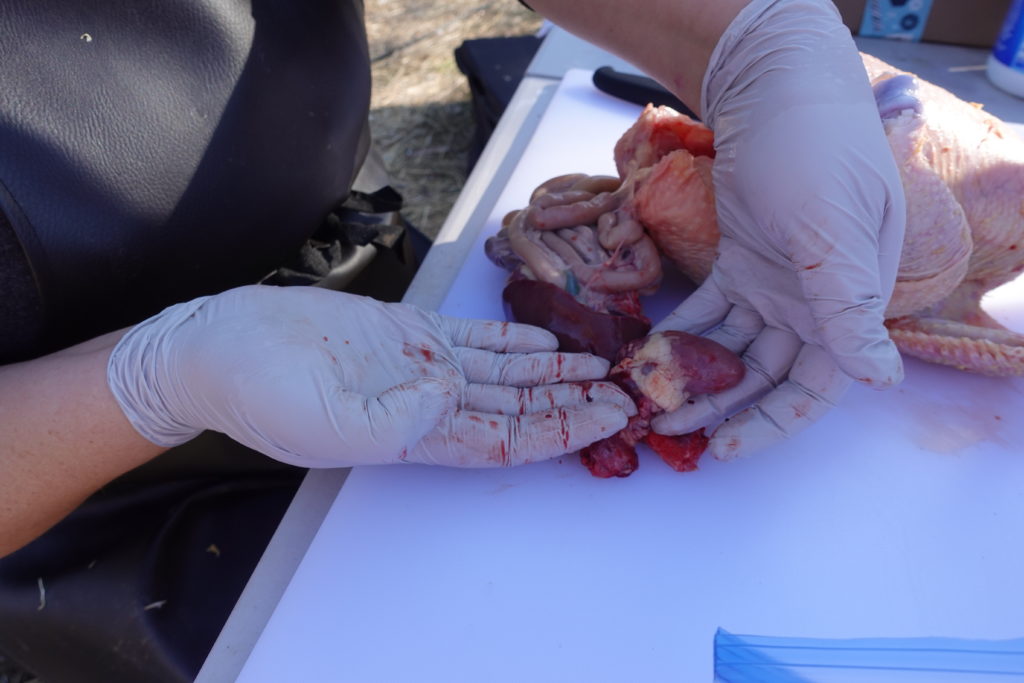
Heart 
Lungs 
Gizzard and intestines


Rinse the bird. We would either bag it for roasting or return to the cutting board and divide it into drumsticks and thighs, breasts and tenderloins, and parts for broth.

And so on…
Repeat until done
We also answered the question of why were so many things made with feathers in the past. There is a sort of down carpet next to the plucking station and Miranda is seriously considering the formerly ludicrous notion of creating doll corsets from the primary feather shafts. We have made broth a few times from these birds, used the schmaltz as a butter substitute, and roasted a couple of whole birds. The birds taste delicious, partly because they are well raised meat and partly because we worked hard for that meat.
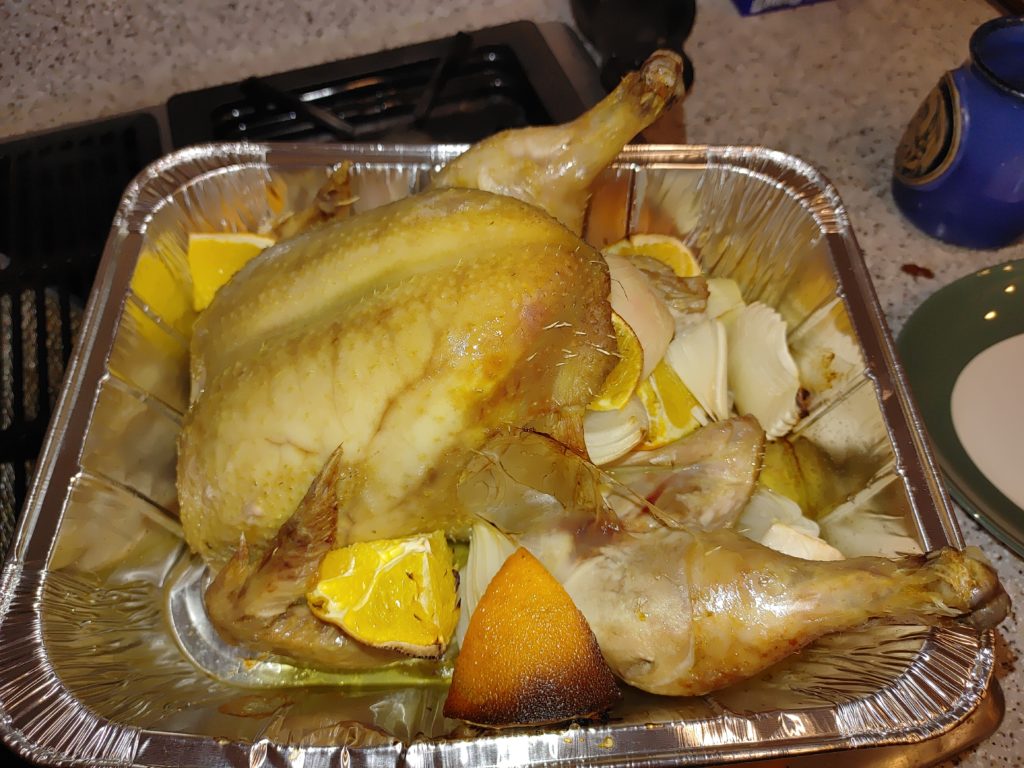
Our Thanksgiving “turkey” 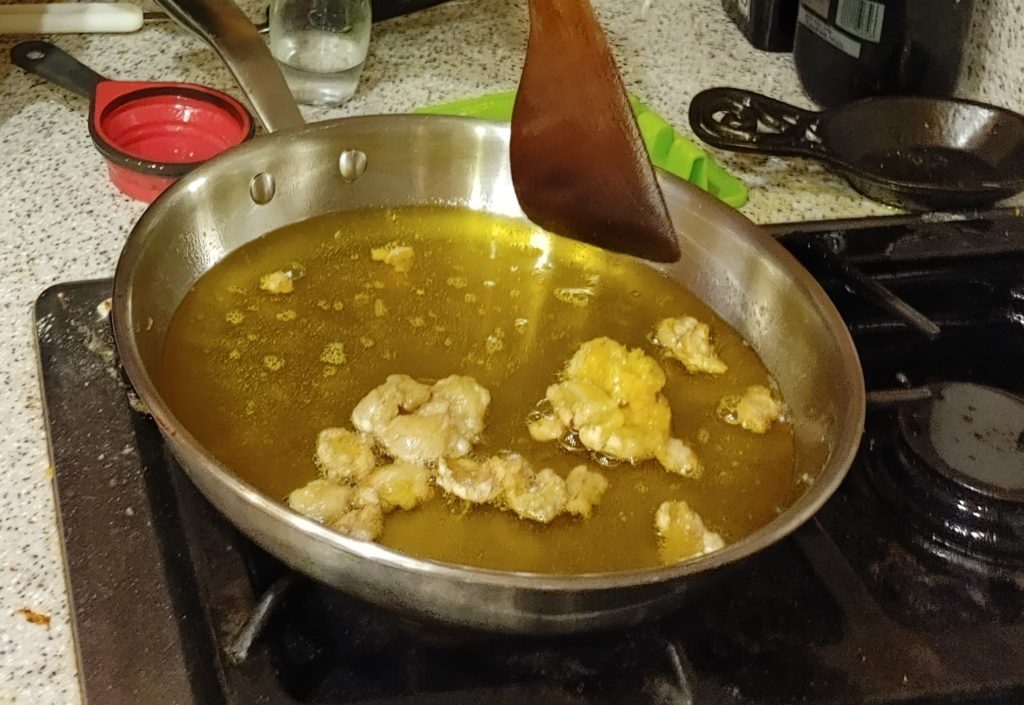
Rendering chicken fat (shmaltz)